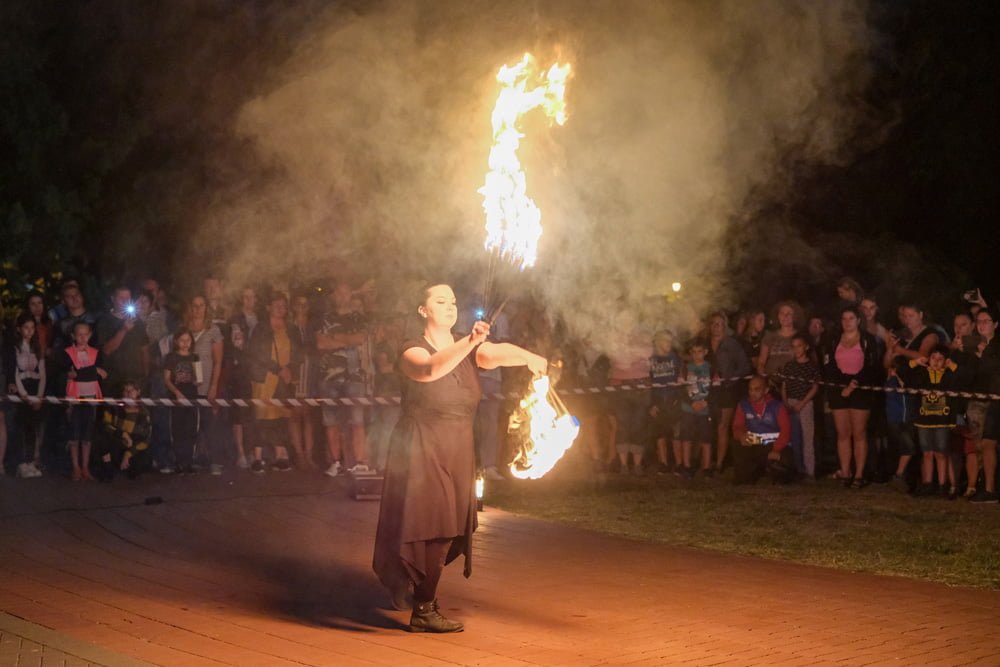
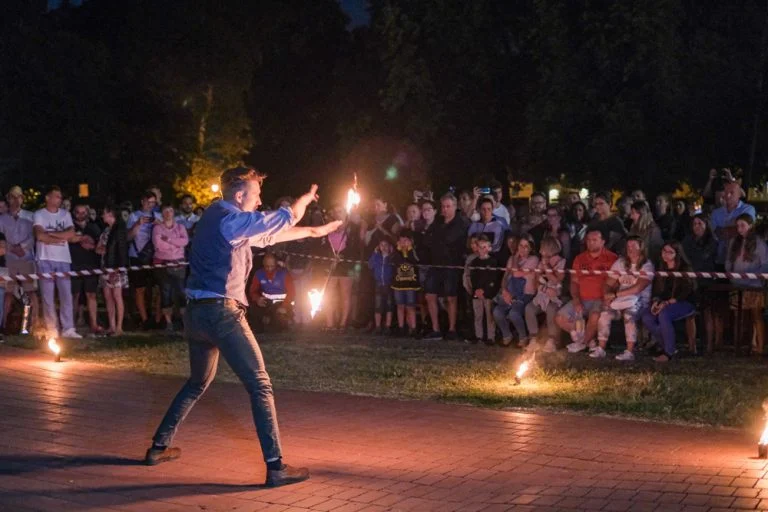
Fire juggling is a mesmerizing and daring art form that captivates audiences with its combination of rhythm, movement, and controlled flames. While professionally made fire props are effective, they can be costly and sometimes lack the customizability that seasoned performers seek. For those who want a more personalized, budget-friendly alternative, building DIY fire juggling props is an excellent solution. In this guide, you’ll learn how to create safe, functional, and customized props that reflect your unique performance style.
Why Choose DIY Fire Juggling Props?
There are several compelling reasons to create your own fire juggling equipment:
- Customization: Adjust weight, handle length, and materials to fit your juggling style and hand size.
- Cost Efficiency: DIY fire props typically cost 30–50% less than commercial alternatives.
- Creative Control: Experiment with designs, aesthetics, and even flame size.
- Satisfaction: There’s pride in performing with props you’ve built with your own hands.
“Building your own fire juggling props is not just about saving money — it’s about taking control of your performance tools and adding a personal touch to your act.”
Materials You’ll Need
Before you begin, gather the following materials to build a standard set of three DIY fire juggling torches:
- 3 sturdy juggling clubs (preferably with wooden or metal heads)
- Kevlar wicking material (2–3 inches wide)
- High-temperature adhesive or epoxy
- Metal washers (2 per torch)
- Kevlar thread or high-temperature wire
- Heat-resistant gloves
- Fuel (typically white gas or lamp oil)
- Basic tools (scissors, pliers, screwdriver)
Step-by-Step Guide to Building Fire Juggling Props
Step 1: Prepare the Base Clubs
Start with clubs that are durable and balanced. Remove any plastic or decorative parts from the club head to prevent melting or combustion. Lightly sand the handle for improved grip.
Step 2: Cut and Wrap the Kevlar Wick
Measure and cut your Kevlar wick to wrap around the torch head 3–4 times. Wrap it tightly and evenly to maintain flame balance. Apply high-temp adhesive to hold it in place.
Step 3: Reinforce the Wick with Fasteners
Secure both ends of the wick using metal washers and screws, or by stitching with Kevlar thread. This reinforcement ensures durability and prevents the wick from loosening mid-performance.
Step 4: Safety Check and Balancing
Before lighting, test your new props without fuel to check for weight distribution and balance. If needed, adjust the wick wrapping or handle grip to ensure smooth juggling performance.
Step 5: First Flame Test
In a controlled outdoor setting, put on your heat-resistant gloves, dip the wicks in fuel, and ignite briefly to test flame stability. Have a fire extinguisher and damp towel nearby at all times.
Essential Safety Tips for DIY Fire Props
- Always test in a well-ventilated outdoor area.
- Keep a fire extinguisher and first aid kit on hand.
- Never juggle fire under the influence of alcohol or drugs.
- Regularly inspect props for wear, fraying, or loosening parts.
- Practice new tricks with unlit props before attempting with fire.
While DIY offers freedom and customization, it also places the full responsibility for safety on you. Prioritize preparation and precaution over performance aesthetics.
Advanced Customization Ideas
Once you’ve mastered the basics, consider these upgrades to further personalize your fire props:
- Colored wicks: Add style using colored Kevlar or wrap with non-burning accents.
- Glow-in-the-dark handles: Improve grip visibility for twilight performances.
- Weighted tips: Modify the torch’s momentum for specific juggling styles.
Every performer has unique needs. Don’t be afraid to iterate and evolve your props as your skills grow.
Final Thoughts: Build, Burn, and Perform
Making your own DIY fire juggling props combines creativity, craftsmanship, and safety awareness into one deeply rewarding process. Not only can you save money and tailor your gear, but you’ll also build a deeper connection with your performance tools — a connection your audience will feel in every spin, toss, and flame.
Looking to take your fire performance to the next level? Request a quote today and work with seasoned professionals who understand the art and safety of fire performance.


